How To Properly Store Old Photographs
 16
16Jul
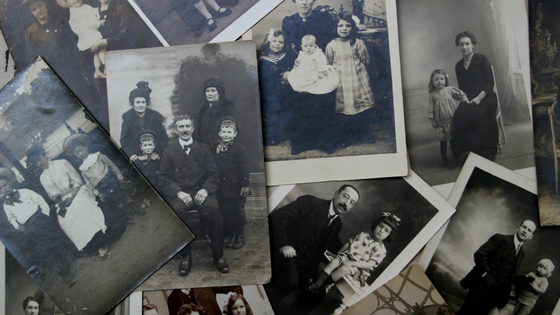
Price and Associates understand the significance of old photographs of your loved ones. They are heirlooms that are worth thousands of words and help old family stories come to life. So treating them carefully and properly storing them is very important. Many people do not know that there is a right way and many wrong ways to store these treasures. Thankfully, the right way isn’t too difficult and we have come up with step-by-step instructions to follow below.
Before you begin, there are a couple of things to remember. Professionals suggest you avoid holding, touching, and handling old photos as much as possible. You should plan on wearing cotton gloves that are clean every time you touch them. Your fingers contain damaging oils that can be left behind on photos. Remember to hold the photos properly as old photos have likely become fragile and can become damaged or ruined easily. One more important bit of advice, many photographs storing guides (including ours) talk about using acid-free supplies. This is extremely important and should not be taken lightly. There are many photo supplies that put off gasses that are very detrimental and damaging to photo paper and its images.
Step 1 - Gather Photos
Gather your photos that you’d like to properly store and put them together. Take your family heirlooms out of magnetic/peel and stick photo albums, as these materials can be damaging over time if made of ordinary materials.
Step 2 - Prep Photos
Remove any and all glue, paperclips, tape, staples, rubber bands and anything else that could dent, bend, scratch or otherwise damage the photos.
Step 3 - Label Photos
Properly and legibly label your photos with a black permanent marker. Include all the details and information you can: names, ages, the location of photo, occasion, etc. Be sure the pen is photograph safe. Steer clear of ballpoint pens. Not only can these pens be damaging to the photo, but they can also fade over time. Those that look at these photos years down the road should be able to easily read the labels.
Step 4 - Store Individually
Be sure each photo is stored individually in a plastic sleeve that does not contain PVC. Most photo supply or craft stores will sell these. If plastic photo sleeves are out of your budget, opt for a plastic sandwich baggy instead.
Step 5 - Layer Paper
Layer a sheet of acid-free paper between photos.
Step 6 - Storage
Keep these photos in an acid-free metal or cardboard box. Boxes can easily be stacked in closets or stored under a bed for maximum storage.
Pro Tips
- If you want to store your photos in a photo album, check labels carefully and be sure you find an “acid-free” one. You may need to make a special trip to a hobby supply shop or photo store to find the safest, best option.
- If you are framing an old photo, think about duplicating it and framing the copy. The framed photo may fade over time.
- If you are having a photo professionally framed, make sure you tell the framer that you need acid-free materials. This is more expensive but is definitely worth it!
Avoid storing your photos in attics, basements, and/or garages. The temperature and humidity in these areas tend to fluctuate greatly. Store these photos in a place where you’d be comfortable.